The Production Process of an Animated Explainer Video
May 24, 2015

Animation has an air of mystery around it. How does an idea come to life on a screen and simply communicate a difficult message? Maybe it’s a wiggle of the nose? A flick of the magic wand? Not quite.
To follow up with last week’s post, “Animation: You Get What You Pay For”, I’d like to introduce you to our own magic, the Digital Brew production process of an explainer video.
We hope you’ll find this information useful and valuable. Let it lead you to intelligent purchasing decisions and give you peace of mind in an unfamiliar production process.
Let’s get to it!
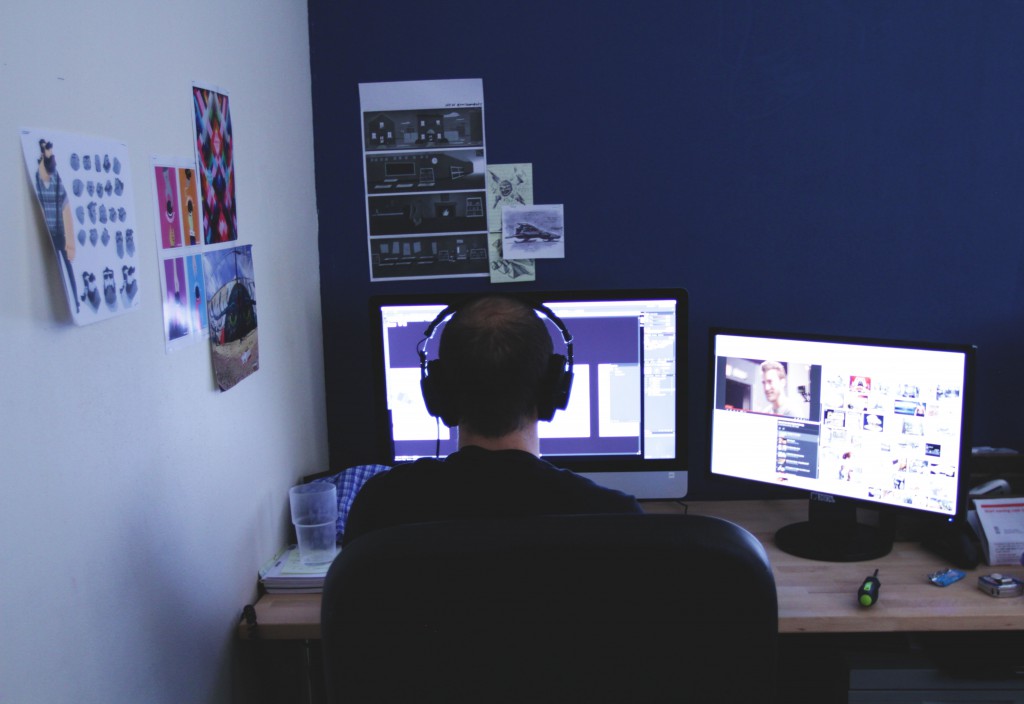
 After animation, bring in the audio! Here the audio engineer and editor give us the first glimpse of the explainer video coming together. From sound effects to music and voice over, the final production is in sight.
Step 1 – Creative Call
After general, brief conversations about your explainer video, the Brewmasters start the production process of your explainer video with a general idea of what it is you’re looking for in the final version of your video. The creative call is our team and your team discussing the concept or theme of the explainer. The script writer is also on the call with us to have a better understanding of the direction the project is going in. From here, we move on to drafting the script.Step 2 – Script
The script is the blueprint for the entire project. It is the foundation for visuals and is constantly referred to throughout production. For scriptwriting, a general rule of thumb is that one-page script typically equals one minute of animation. Some clients like to provide the final script to us as a way of cutting costs, so this is valuable information to be aware of if you decide to provide the script up front. Once the script is approved, the remainder of the production process takes roughly 30 days to complete. Onward!Step 3 – Style Guide
I love this part of the Digital Brew process because it truly incorporates the digital age we live in making it easier and more efficient for the client. Once the script is finalized, we share our inspiration for the overall style and characters via Pinterest. The client points out the inspiration they align with and from there, the Brewmasters create the style guide for the animated explainer. The style guide encompasses the assets (characters, environments, and if necessary, props). It also includes fonts, colors, and overall style of the explainer video. At this point in the production process, we’ll also bring aboard a voice actor and record the video’s voiceover.Step 4 – Storyboards
Now that the characters, style and theme established, we can form storyboards with those assets to demonstrate how the final piece is going to play out on screen. Storyboards are essential to any given project because they provide direction for the production and post-production teams. Of course, client approval of the storyboards is required before animation begins.Step 5 – Animation & Audio
Everything comes to life through animation. All the hard work the team and the client have put it truly shine during this stage of the production process. If all parties are on the same page and understand the expectation of what is to happen, the animation process is easy peasy! Sit back, relax, and watch your animated explainer come to life. After animation, bring in the audio! Here the audio engineer and editor give us the first glimpse of the explainer video coming together. From sound effects to music and voice over, the final production is in sight.